Quick Navigation
Follow this tutorial to download MLive U for PC. You can run MLive U for PC on Windows 10/8/7 and macOS. This will work on all desktop PCs and Laptops.
MLive U – Meet new people and have fun!
If you have not already heard of MLive, you probably have been living under a rock. It’s one of the most popular live-streaming applications to meet new people and have fun. MLive U will let you interact with new people and do things that no other application will let you do so. I’m going to tell you how this application is so good.
MLive has multiple sections. In the very first section, you meet the people who are there just to talk to you or show off their skills. You will find most of the people from countries like the Philippines, Indonesia, Thailand, and even China. The beautiful people with their beautiful skills will grab your attention for a while.

After this, you get the Global section of MLive U. This is where you will find users from all over the world. The Global Section is kind of the next level of live streaming. For example, the users can put a lock on their chatrooms in this section. Users willing to join have to gift the locked user a certain gift to unlock the room. This is a private room and I guess, I don’t need to explain to you further what happens in a private room. It has its price, so you can guess what you can get for that price.
Furthermore, there is an international section of the MLive. In this section, you can see all the users locked/unlocked from all the countries. This includes users from the normal MLive section and Global section as well.
You can also go live in this application, build your followers and then take them to the private room.
MLive U is available for free in the Play Store. There is no official MLive U application for desktop users. However, if you wish to enjoy those crazy video chat sessions on a bigger screen, follow this guide to get the MLive U for PC right now. Take a look at the steps below to get it.
Requirements to get MLive U for PC
- An Android emulator i.e. BlueStacks – Download.
- Desktop PC or macOS
- Windows 7/8/10 or macOS
- This guide.
Download MLIVE U for PC
- Open BlueStacks on your computer and log in using your old or new Google Account.
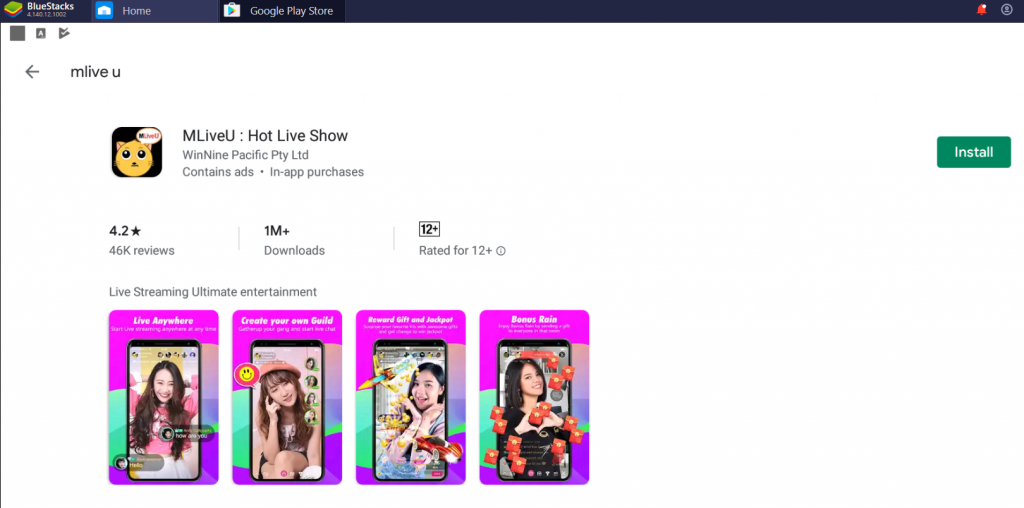
- Open the Play Store in the BlueStacks, find MLive U and install it.
- Launch MLive U and create your account or log in using an existing account. Start using the app.

Final Words
You have the MLIVE U installed on your computer now. The app is fairly simple to use. Most of the stuff can be done by simply following the on-screen instructions. You can log in using your WeChat account, Facebook, or even the Twitter account. Make sure that you keep your private stuff private while using this application. If you have any questions regarding the MLIVE U app or this guide, feel free to use the comment section below. I will definitely get back to you as soon as possible.